AI image generation is so easy now that making a picture takes a few minutes. But have you ever thought about turning those pictures into a way of expressing how you feel?
In this post I’ll walk you through the whole process from scratch: creating the stickers/emoji, cropping them, and finally publishing your very own LINE stickers/emoji!
AI Tools
Before we start, we need an AI helper. Common image generators include ChatGPT (OpenAI), Midjourney, Google Gemini, Stable Diffusion and more. Each has its own style and workflow, so just pick one you’re comfortable with. I personally prefer OpenAI for image generation, so everything below uses ChatGPT.
Sign Up for LINE Creators Market
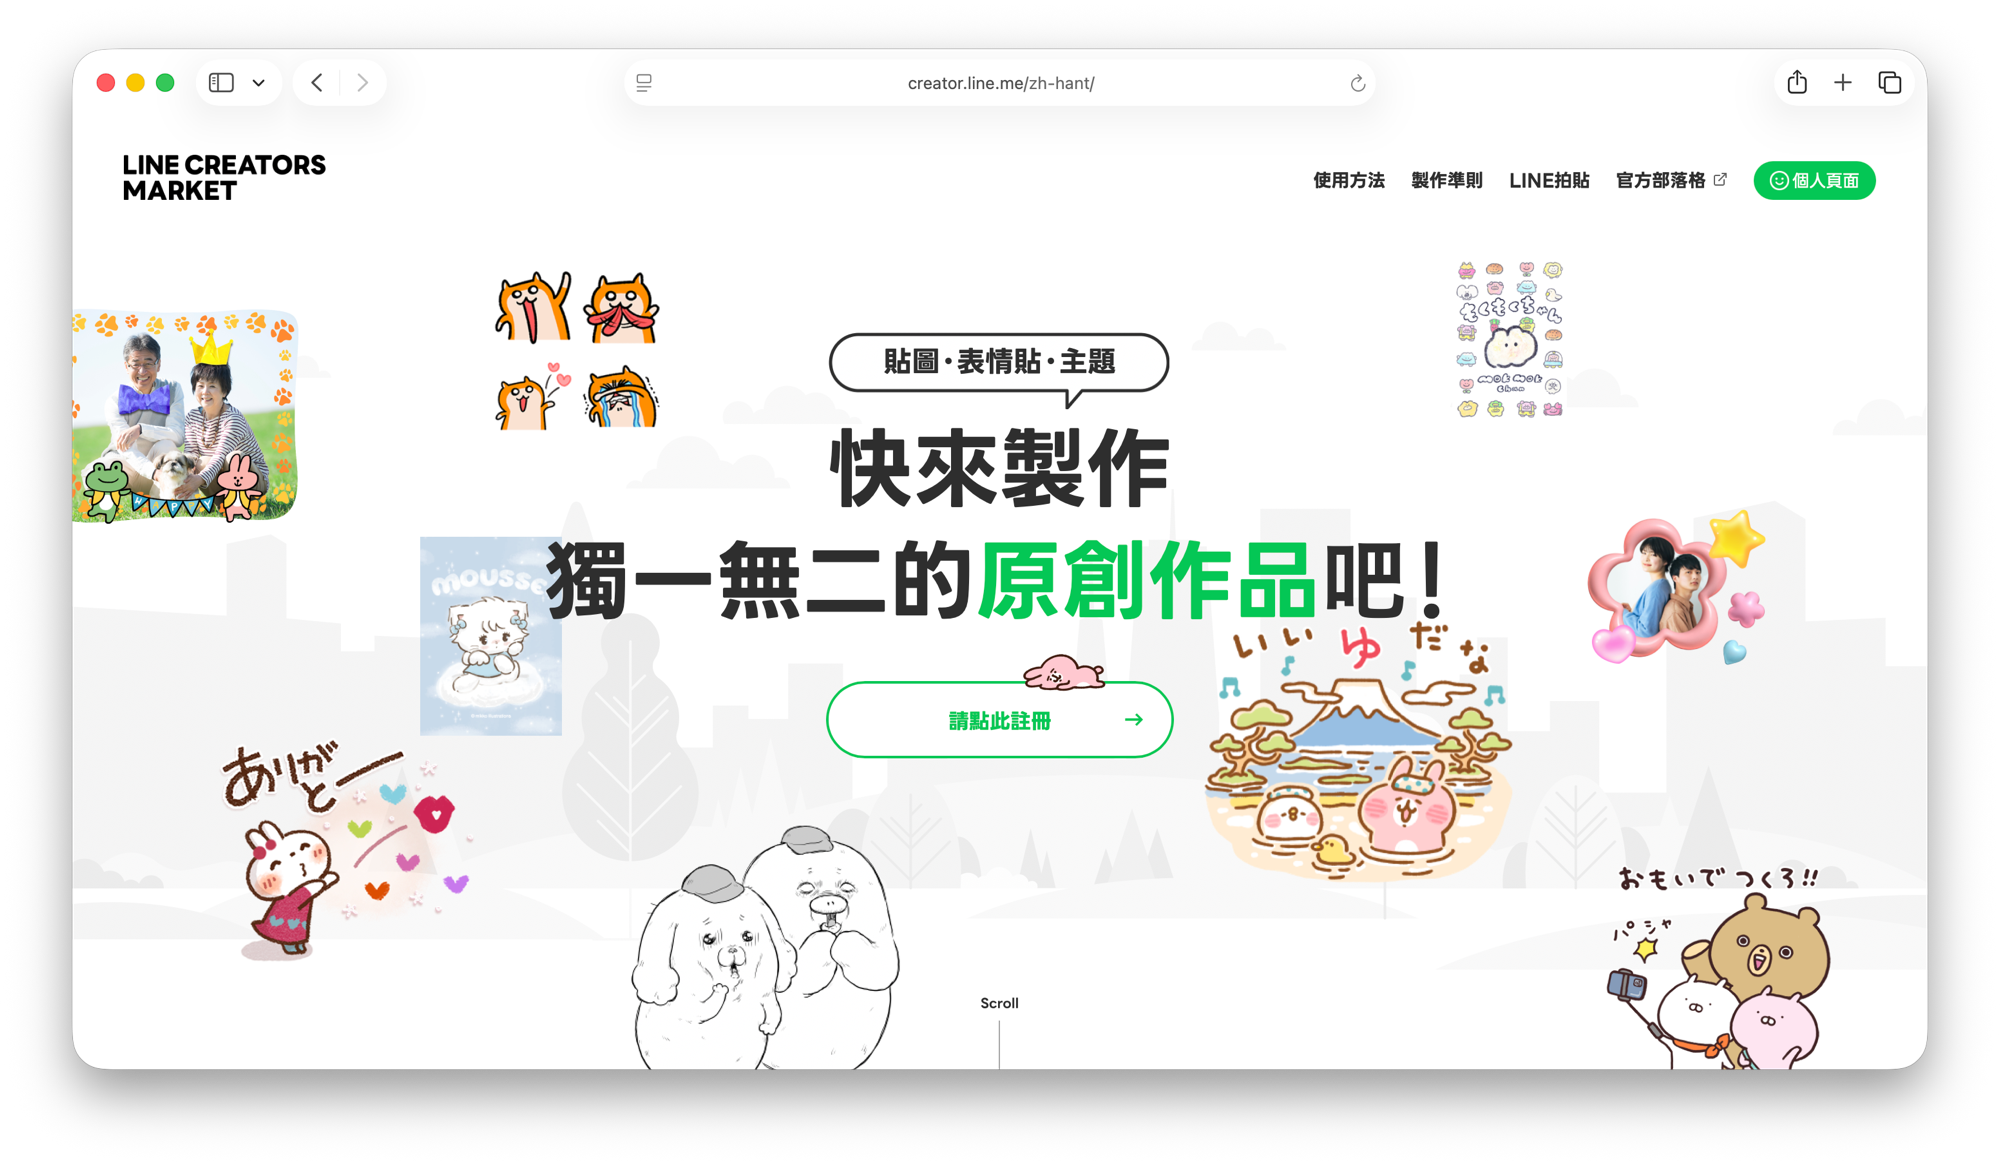
To publish the stickers we made, we need to register at LINE Creators Market. On the home page, click Register here in the middle of the screen:
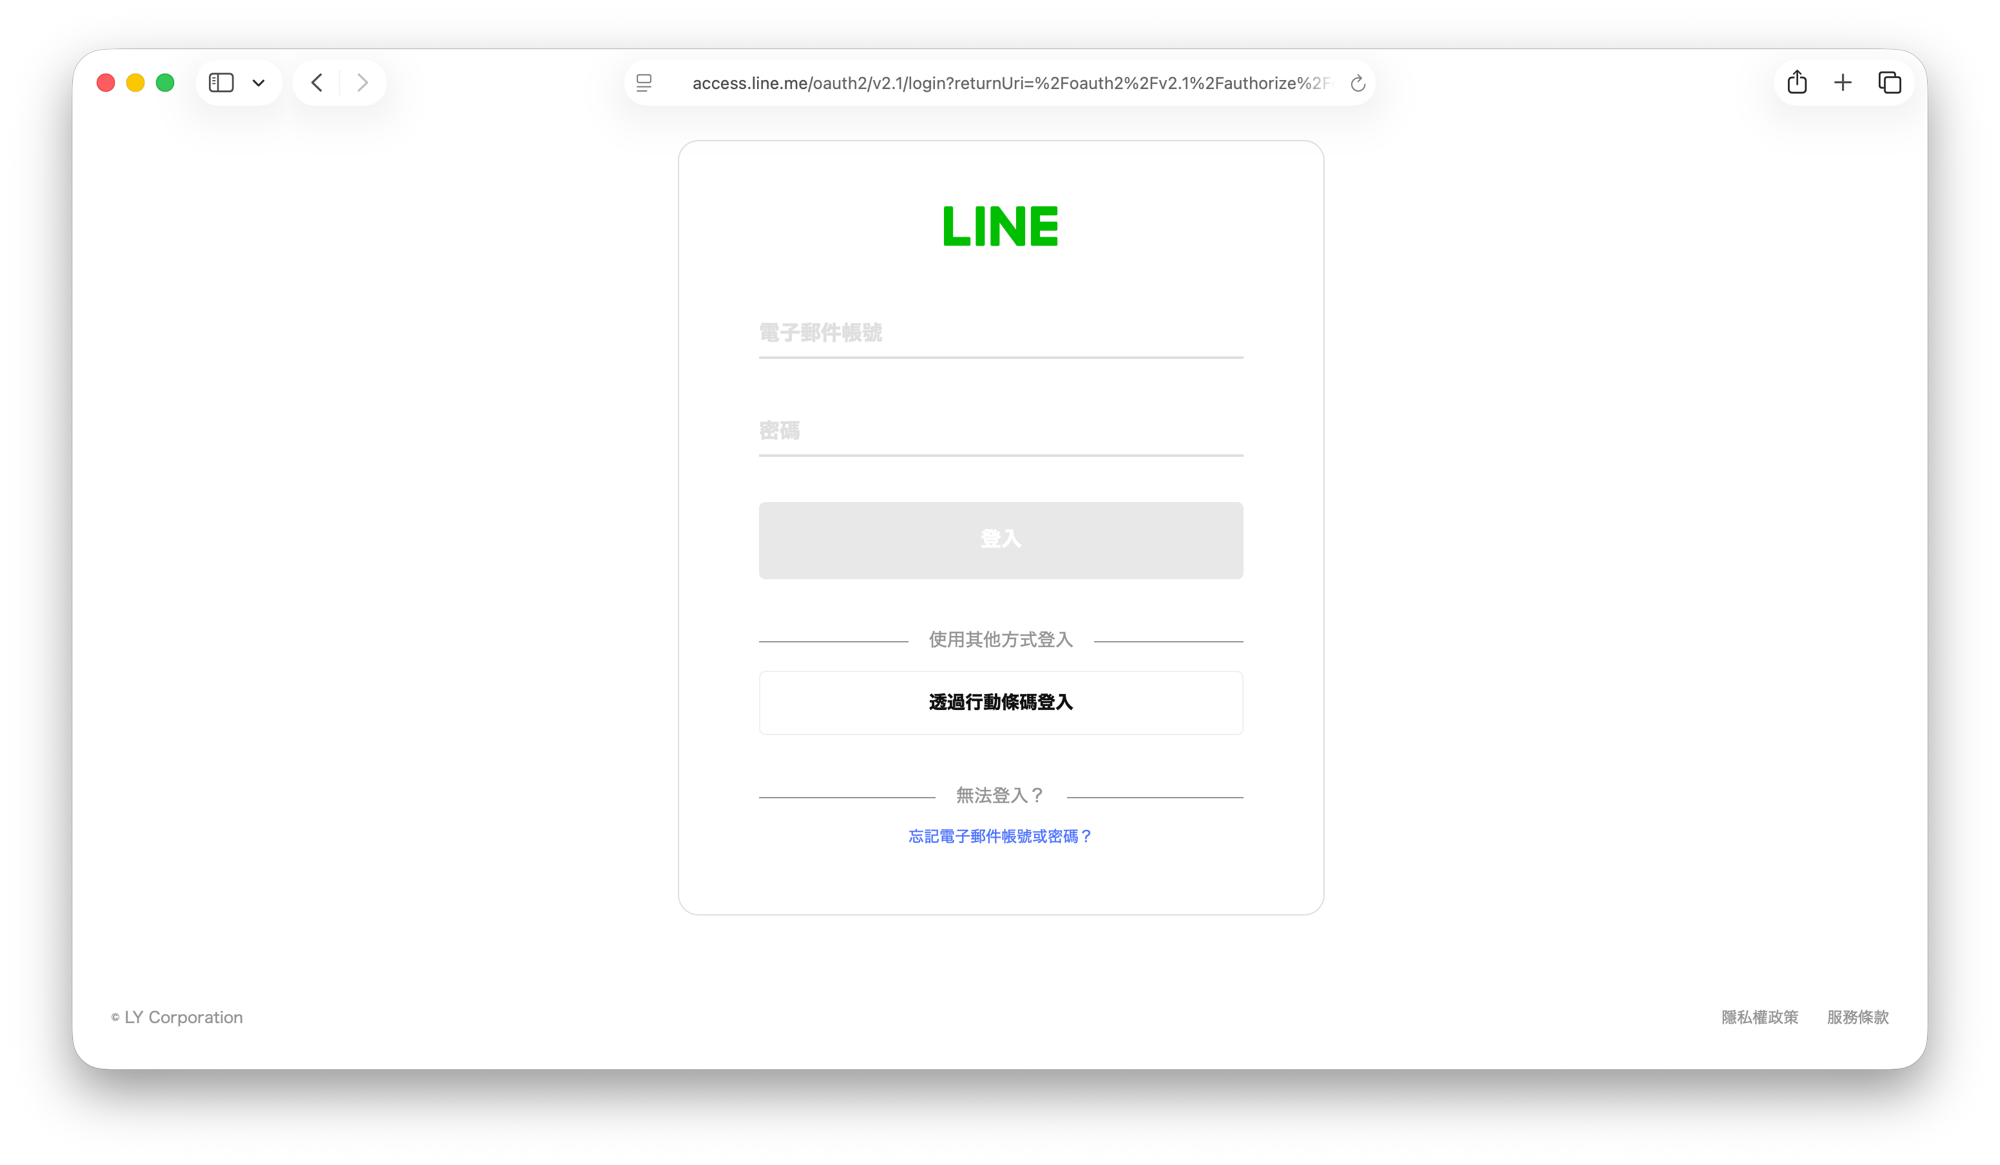
You’ll then be redirected to the LINE login page. Sign in with your LINE account (you can also log in by scanning a QR code with the mobile app):
On your first login you’ll need to fill in some basic information to create a creator account:
- Applicant name (must be in Japanese or English)
- Your name or shop name
- Phone number
- Address (must be in Japanese or English; you can use Chunghwa Post’s Chinese address to English translation service)
Once you submit the form, your creator account is ready.
A quick note on the two ways to upload finished images:
- Upload them directly on the LINE Creators Market page
- Upload through the LINE Camera app, which only works for stickers and does not support emoji
I’d still recommend uploading on the Creators Market page. Emoji review progress can be seen on the LINE official account, but not inside the LINE Camera app.
Sticker and Emoji Specs
Before generating anything, get the differences between stickers and emoji straight. Otherwise you may find out the size is wrong after you’re done, and all that work is wasted. The files you need to prepare are actually quite similar: both need a main image (main.png, the cover shown in the store listing) and a chat room tab image (tab.png, the small icon you see when switching sticker packs in a chat). It’s not just stickers that need tab.png; emoji need one too:
| Stickers | Emoji | |
|---|---|---|
Main image main.png |
240 x 240 px | 240 x 240 px |
Tab image tab.png |
96 x 74 px | 96 x 74 px |
| Each image | within 370 x 320 px | 180 x 180 px (no empty margin on any side) |
| Count | 8 / 16 / 24 / 32 / 40 | 8 to 40 |
| Format | PNG, transparent background, 72 dpi or higher | PNG, transparent background, 72 dpi or higher |
| File size | under 1 MB each | under 1 MB each |
For the full specs, see the official sticker guidelines and emoji guidelines.
In short, the biggest difference is the size of each image. Stickers have a larger canvas (370 x 320 px), so you can leave some empty space around the character. Emoji are square (180 x 180 px), and the official rules ask for the artwork to fill the canvas with no margin on any of the four sides. Keep that in mind when generating and cropping.
Generate the Images
I’ll cover two ways: chatting with ChatGPT in the browser, and generating images with Codex in your terminal.
ChatGPT in the Browser
Open your browser and go to ChatGPT, then enter the prompt below. The more detailed the prompt, the more stable and on-target the result, so fill in everything inside the square brackets [ ] before sending:
1 | Please design a series of 10 LINE stickers/emoji with the following specs and requirements: |
If you want the stickers based on a specific picture, such as a photo of yourself, a friend or a pet, upload the picture first and add this line at the start of the prompt above:
1 | Based on the image I uploaded, please design a series of 10 LINE stickers/emoji with the following specs and requirements: |
In practice the browser version of ChatGPT can be a bit dull. If you ask for 10 images at once, it may suddenly say it can only generate a certain number, or the style and colors may drift from one image to the next. If the results look unstable, scale down to 2 or 3 at a time, and once the character design and art style are stable, fill in the rest batch by batch.
Codex in the Terminal
First install the Codex CLI locally. Open a terminal and run the command for your OS:
1 | brew install --cask codex |
1 | curl -fsSL https://chatgpt.com/codex/install.sh | sh |
1 | powershell -ExecutionPolicy ByPass -c "irm https://chatgpt.com/codex/install.ps1 | iex" |
Once it’s installed, create a folder and switch to it in the terminal (name it whatever you like; I’ll use line-sticker):
1 | mkdir line-sticker |
Then type codex in the terminal to start a conversation with Codex in that folder, and paste in the same prompt from the ChatGPT section above. You can also ask Codex to create a subfolder to hold all the results and name the output files in a regular pattern (for example sticker-01.png, sticker-02.png in order), so they’re easy to match up and track when you crop and remove backgrounds later:
1 | ls stickers |
When generation finishes, the folder will contain every sticker in order:
1 | sticker-01.png sticker-02.png sticker-03.png ... |
Whether you’re cropping, removing backgrounds or uploading to LINE Creators Market, just take the files from this folder.
Crop the Images
AI-generated images rarely match LINE’s size requirements exactly, so you need to crop them before uploading. Again there are two ways: crop by hand with a web tool, or batch process in the terminal with a CLI tool, which suits larger numbers of images better.
Web Tool
If only a few images need cropping, an online tool such as Photopea (a Photoshop-like editor that runs in the browser, no install needed) will do. Drag the image in, use Image → Canvas Size to set the size you need, and export as PNG when you’re done.
Batch Processing with the CLI
When there are many images, cropping them one by one gets tiring. Use the command-line tool ImageMagick to batch process them. Open a terminal and install it with the command for your OS:
1 | brew install imagemagick |
1 | sudo apt-get install imagemagick |
1 | choco install imagemagick -y |
After installing, you can crop with the magick command. Stickers and emoji are cropped differently (emoji can’t have margins on any side), so let’s look at them separately:
Go to the folder holding your stickers and crop to 370 x 320 px around the center of the image:
1 | cd stickers |
To crop a whole folder to the same size, wrap it in a shell loop:
1 | for f in sticker-*.png; do |
Emoji must fill the whole 180 x 180 px canvas with no margin on any side. If you crop straight from the center and the original isn’t aligned, it’s easy to end up with a transparent border. So instead, first scale the image up proportionally until it covers the whole canvas, then crop it to a square. The ^ in -resize 180x180^ means scale to cover (rather than fit inside), and -extent trims whatever sticks out past the canvas:
1 | cd emojis |
The same loop works for the whole folder:
1 | for f in emoji-*.png; do |
Upload and Publish
Once every image is cropped and main.png and tab.png are ready, the last step is to go back to LINE Creators Market, upload the whole set, fill in the product info and submit it for review. After it passes, it goes on sale!
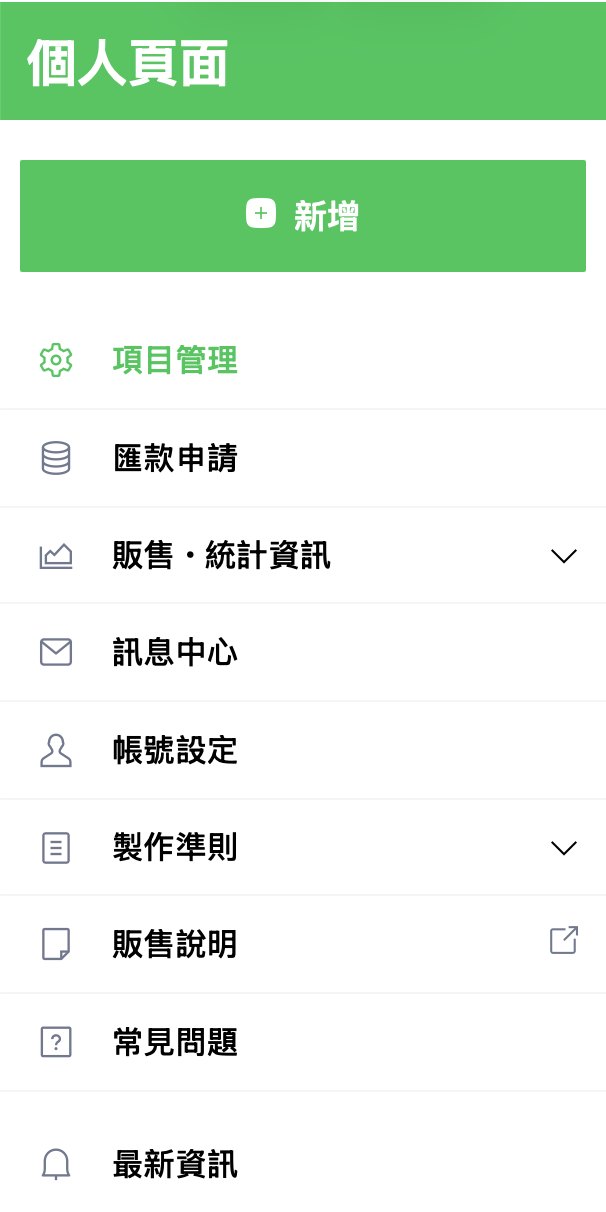
After logging in, open your personal page from the top right and click the green New button at the top to start a new sticker/emoji item:
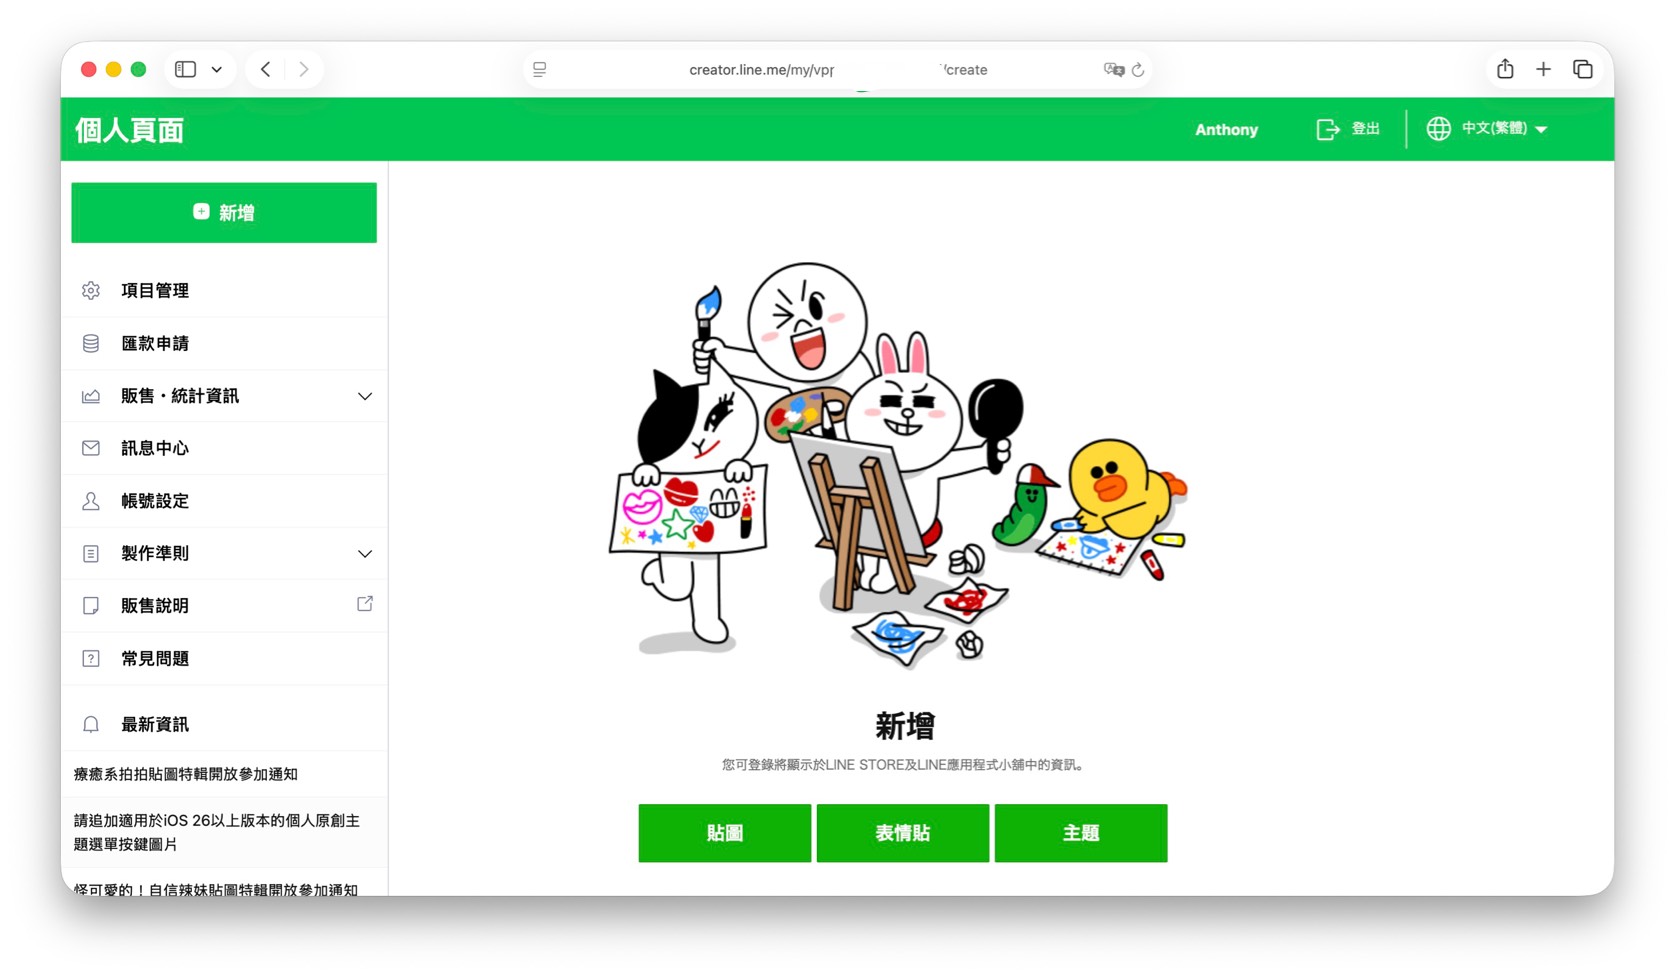
After clicking New, you’ll see three options: Stickers, Emoji and Themes. Click the one that matches what you’re publishing:
Next comes a pile of basic info: title, description, creator name, tags, copyright and so on. Most of it you can just fill in as the form asks. Two things are easy to miss:
- AI usage label: if the stickers/emoji were made with AI, be honest and tick the Use of AI option. After release, the store page shows a note that AI was used. LINE may ask for a record of your original prompts during review, and if you didn’t tick it and get caught, the submission is more likely to be rejected.
- Copyright field: this field only accepts English letters, numbers and the symbols
©,™,®, with a limit of 50 characters. The most common format isCopyright©YourCreatorName(for exampleCopyright©Anthony). Any name of your own will do, no need to overthink it.
Upload the Stickers/Emoji
The upload screens for stickers and emoji differ, so let’s look at them separately:
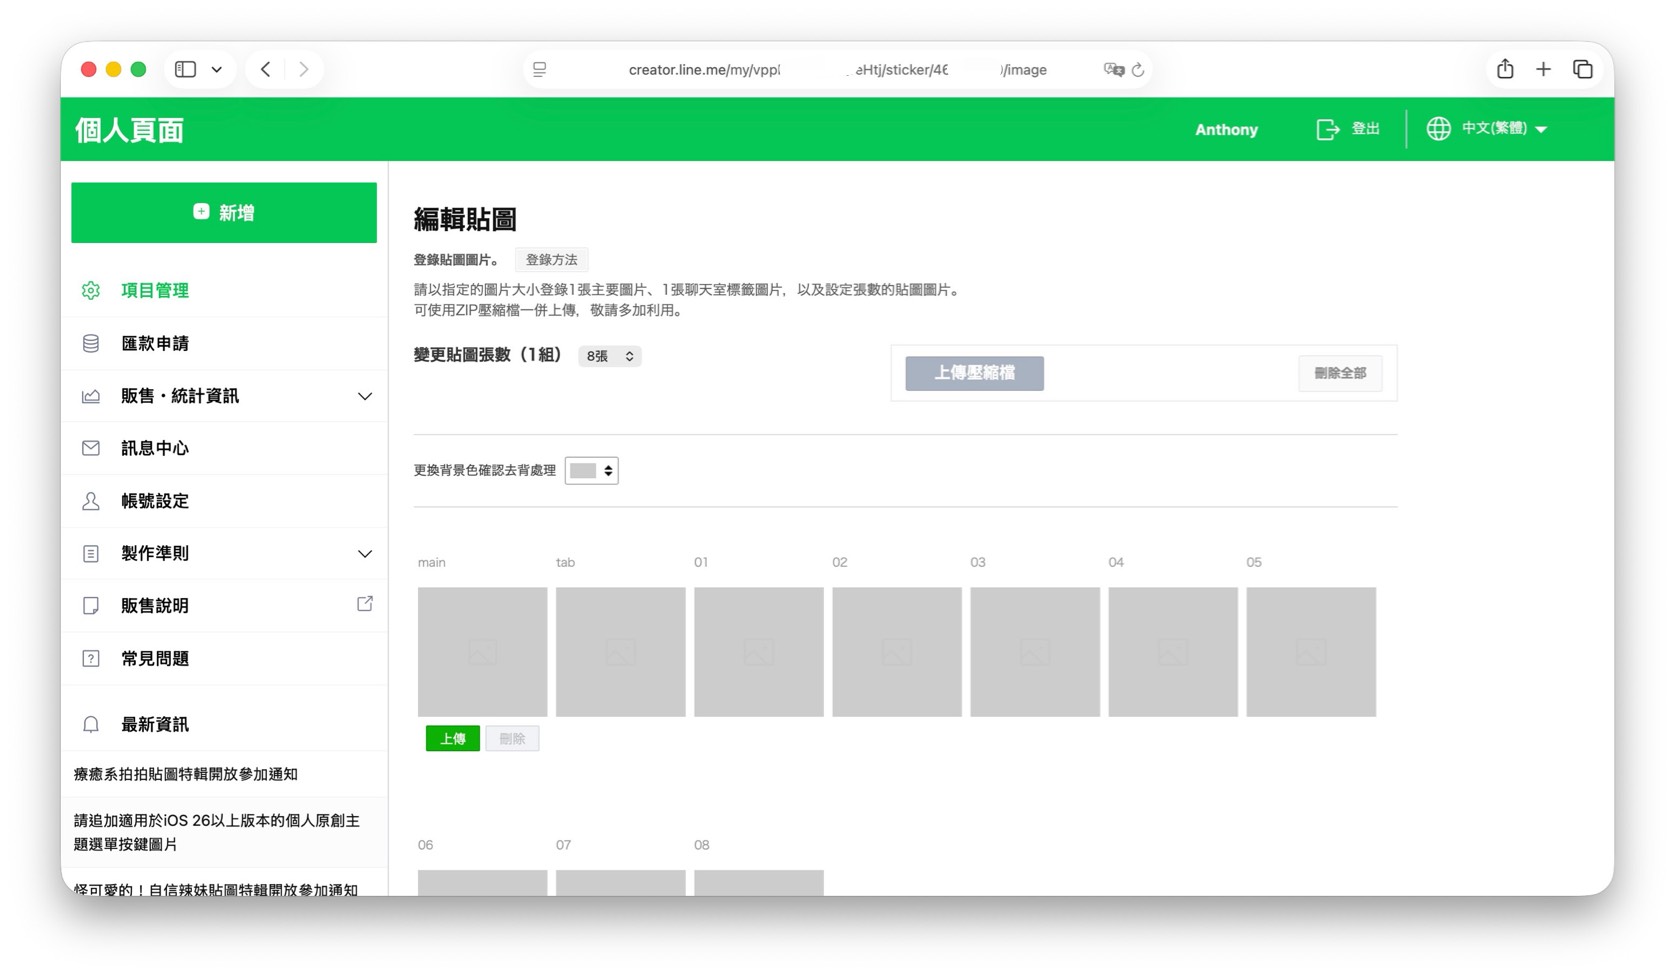
The sticker upload screen is simpler. main (main image), tab (tab image) and 01 to 08 (the stickers themselves, as many as the set size you chose) are all on one page. You can click Upload for each one, or zip all the images and import them at once with Upload ZIP at the top right:
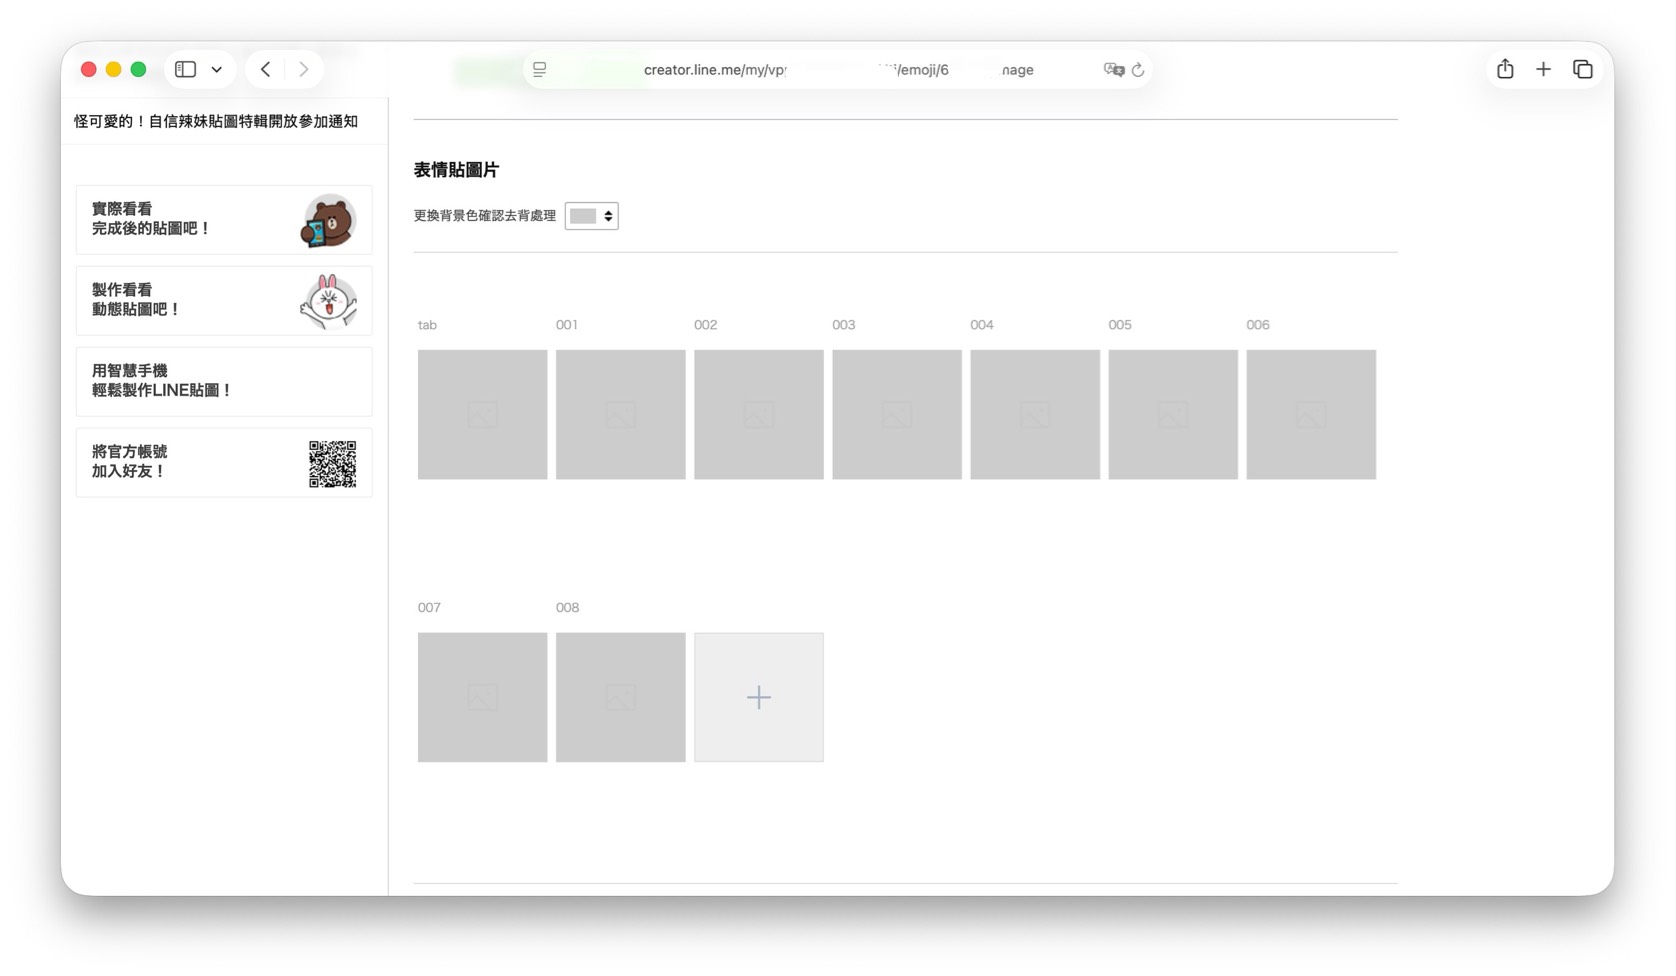
Emoji upload has two steps. Step 1 is uploading the tab image and every emoji image (001 and up, depending on the count):
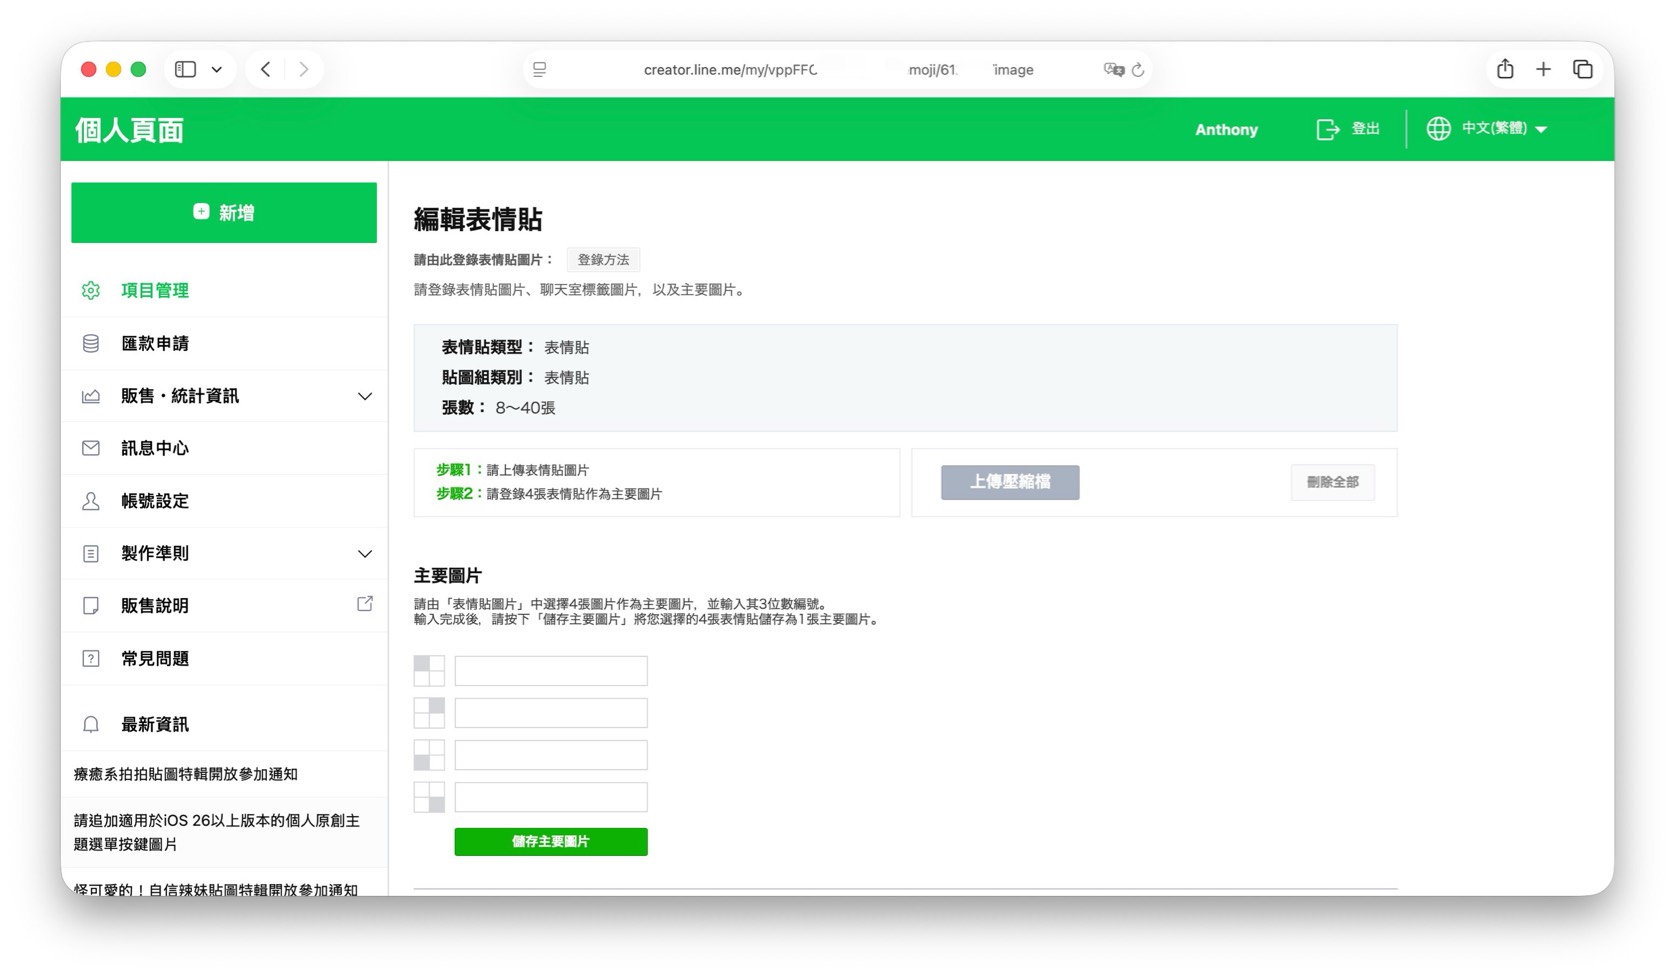
Step 2 is picking 4 of the uploaded emoji to make up the main image shown on the store page. Type the 3-digit number of each image (for example 001) in its field, then press Save main image:
Submit for Review
After uploading everything and double-checking the info, press Submit at the top right to send it for review. The official estimate is that review finishes within 10 days, but in practice most results arrive within two days of submitting (it still varies with the review queue and the number of images).
If it gets rejected, open Message Center in the left menu to see which images were judged NG and why. Adjust as suggested and resubmit; you don’t need to re-upload the whole set.
Passing review doesn’t put it on sale right away. You have to go back to Item Management on your personal page and press Release yourself before it starts selling. The official note says it takes about an hour to take effect, but in my experience it appears on LINE STORE within half an hour!