The previous post covered page settings — paper size, margins, columns, page numbers, and headers/footers. The #set text, #set page, and #set heading used throughout those posts are all actually the same mechanism: the #set rule. This post goes back to properly untangle this core concept that runs through Typst’s entire style system.
#set Rule Basics covers how the syntax is written and which parameters can be set; Scope explains exactly how far a single #set reaches — across a whole file, limited to a block, or applied conditionally with if; Stacking Multiple #set Rules clears up how the same function gets overridden property-by-property while different functions stay completely independent; and finally, there’s a demonstration of packaging a common group of #set rules into a function for reuse. The goal is to turn the #set syntax used in earlier posts from something you copy from an example into something you actually understand.
#set Rule Basics
Earlier posts have already used #set plenty of times. This section breaks it down step by step: how the syntax is written, what’s happening underneath, and which parameters can actually go into it.
Syntax and How It Works
A #set rule always follows the same shape: the set keyword, followed by the name of an element function1, followed by the desired values as named arguments:
1 | #set text(size: 14pt) |
You can think of what’s happening underneath as Typst keeping a list of currently active styles for each element. A #set rule pushes a new style onto that list. From that line onward, everywhere the text element gets used — including plain text typed directly in markup — picks up the newest setting on that list, until it’s overridden or falls out of scope.
Settable Parameters
Not every parameter of a function can go into a #set rule. Only named, optional parameters can — things like text‘s size, font, and fill. Positional, required parameters — like the actual text content passed to text — can’t be set this way:
1 | #set text("this is some text") |
This fails to compile with the error unexpected argument, because the text content of text is a required positional parameter, not something #set can handle.
To tell whether a parameter can be set, just check that function’s parameter list in the official Typst documentation: each parameter has a badge underneath it. One labeled Settable can go into a #set rule, usually along with a Default line showing its default value; one with no Settable badge, only Positional or Required, is a positional or required parameter and can’t be set. Here’s what that looks like for the font parameter of the text function:

That confirms font is a parameter you can set with #set.
A Worked Example
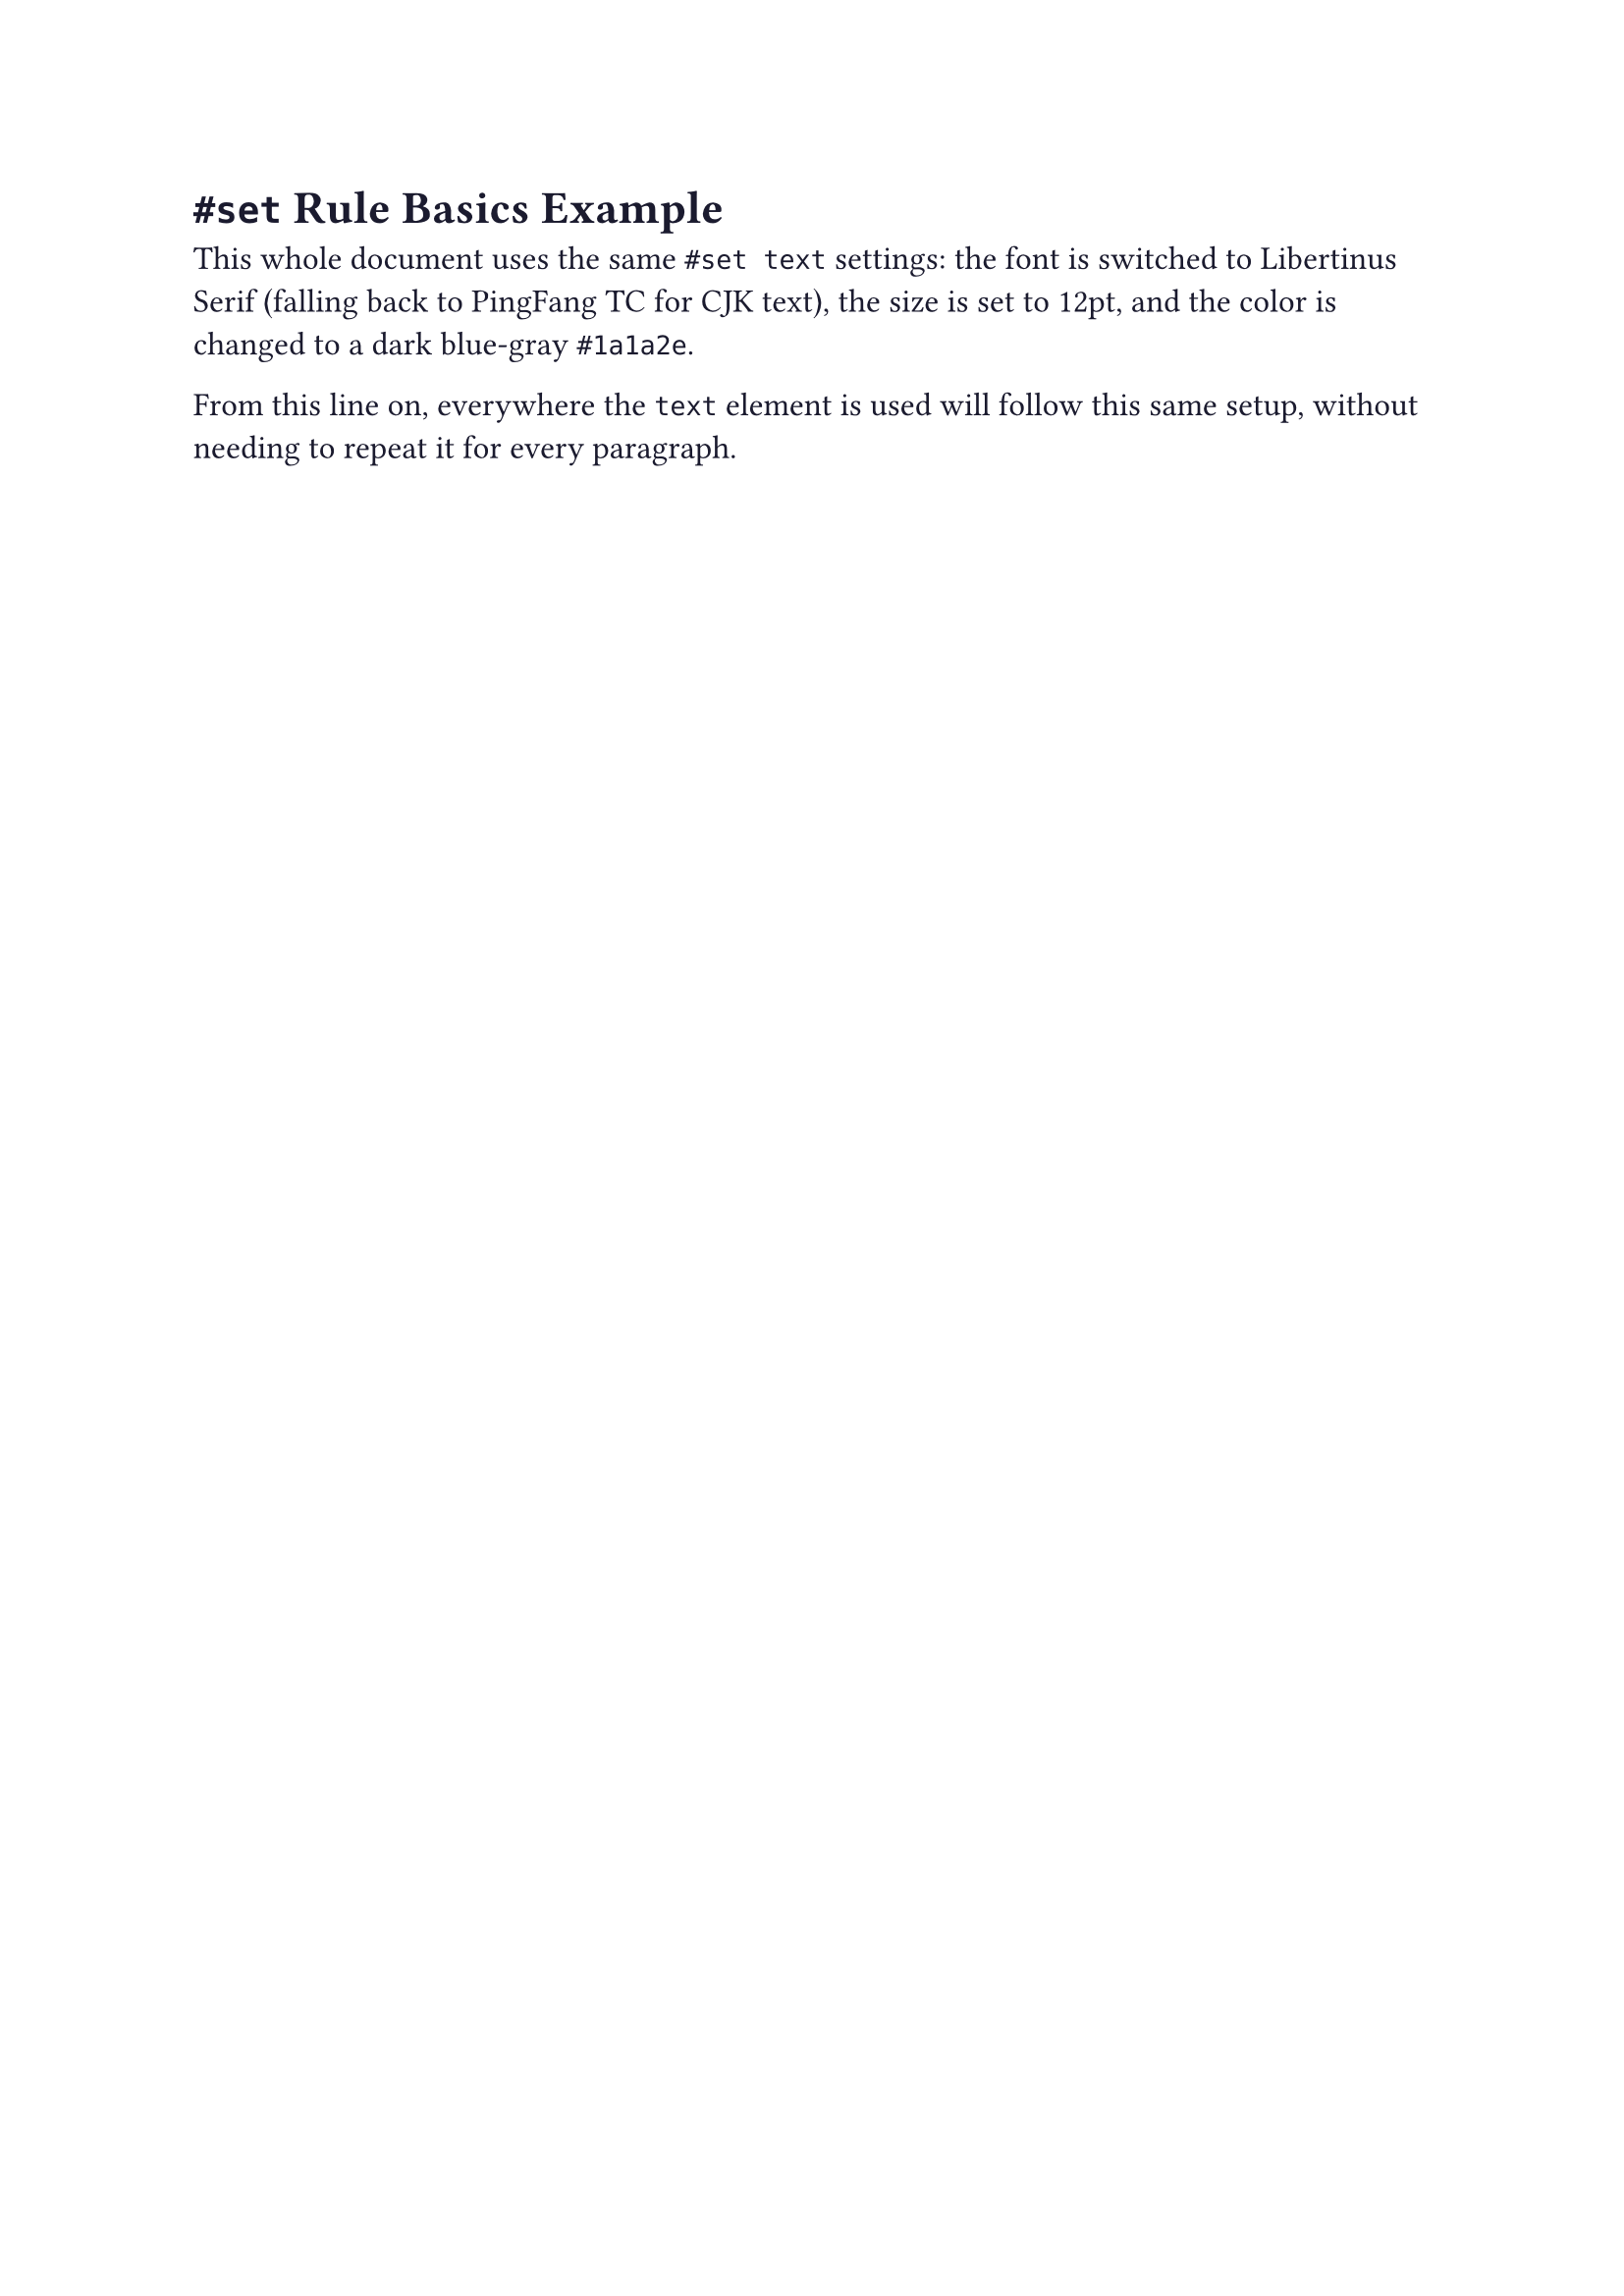
Combining a few settable parameters into a document with a custom font, size, and color:
1 | #set text( |
After compiling, the result looks like this:
Scope
#set isn’t a global on/off switch — it follows clear scoping rules for exactly where it starts and where it stops. This section breaks down three common situations.
From Where It’s Set to the End of the File
A #set written at the top level (not wrapped in any block) takes effect from the line it appears on, all the way through to the end of the file:
1 | First paragraph, using the default size. |
The first paragraph, before the #set, keeps the default; everything from the second paragraph onward — including every later paragraph that doesn’t set its own size — picks up the new one.
Limiting the Scope with a Block
If you only want a small piece of content to get a special setting, without affecting the rest of the document, wrap the #set and the content it should affect together inside square brackets [...]. Once the block ends, the setting automatically stops applying, and content outside is unaffected:
1 | This paragraph keeps the default style. |
Applying Conditionally with if
Sometimes you want a #set to apply only under a certain condition — say, turning text red only in draft mode, as a reminder. There’s an easy trap here: if you put the #set inside an if‘s {} code block, separate from the content it’s supposed to affect, you’ll find it simply doesn’t work:
1 | #let draft = true |
After actually compiling this, the text stays black — the set inside the if has no effect at all. This ties back to the block-scoping rule from the previous section: { set text(fill: red) } is itself a block, and since there’s nothing else inside it besides that one set line, the block ends the instant the setting is written — its scope hits zero before it ever gets a chance to reach the content sitting just outside it (even one line away).
The correct way to write it is to wrap the #set and the content it should affect together inside the same square-bracket [...] branch, instead of splitting them between {} and the outside:
1 | #let draft = true |
Written this way, when draft is true, execution enters the first branch, and the set and the following text are both inside the same [...] — so the setting actually takes effect.
A Worked Example
Combining all three scoping situations — to-the-end-of-file, block-limited, and conditional — into one document:
1 | #set text( |
After compiling with typst compile, the result looks like this:
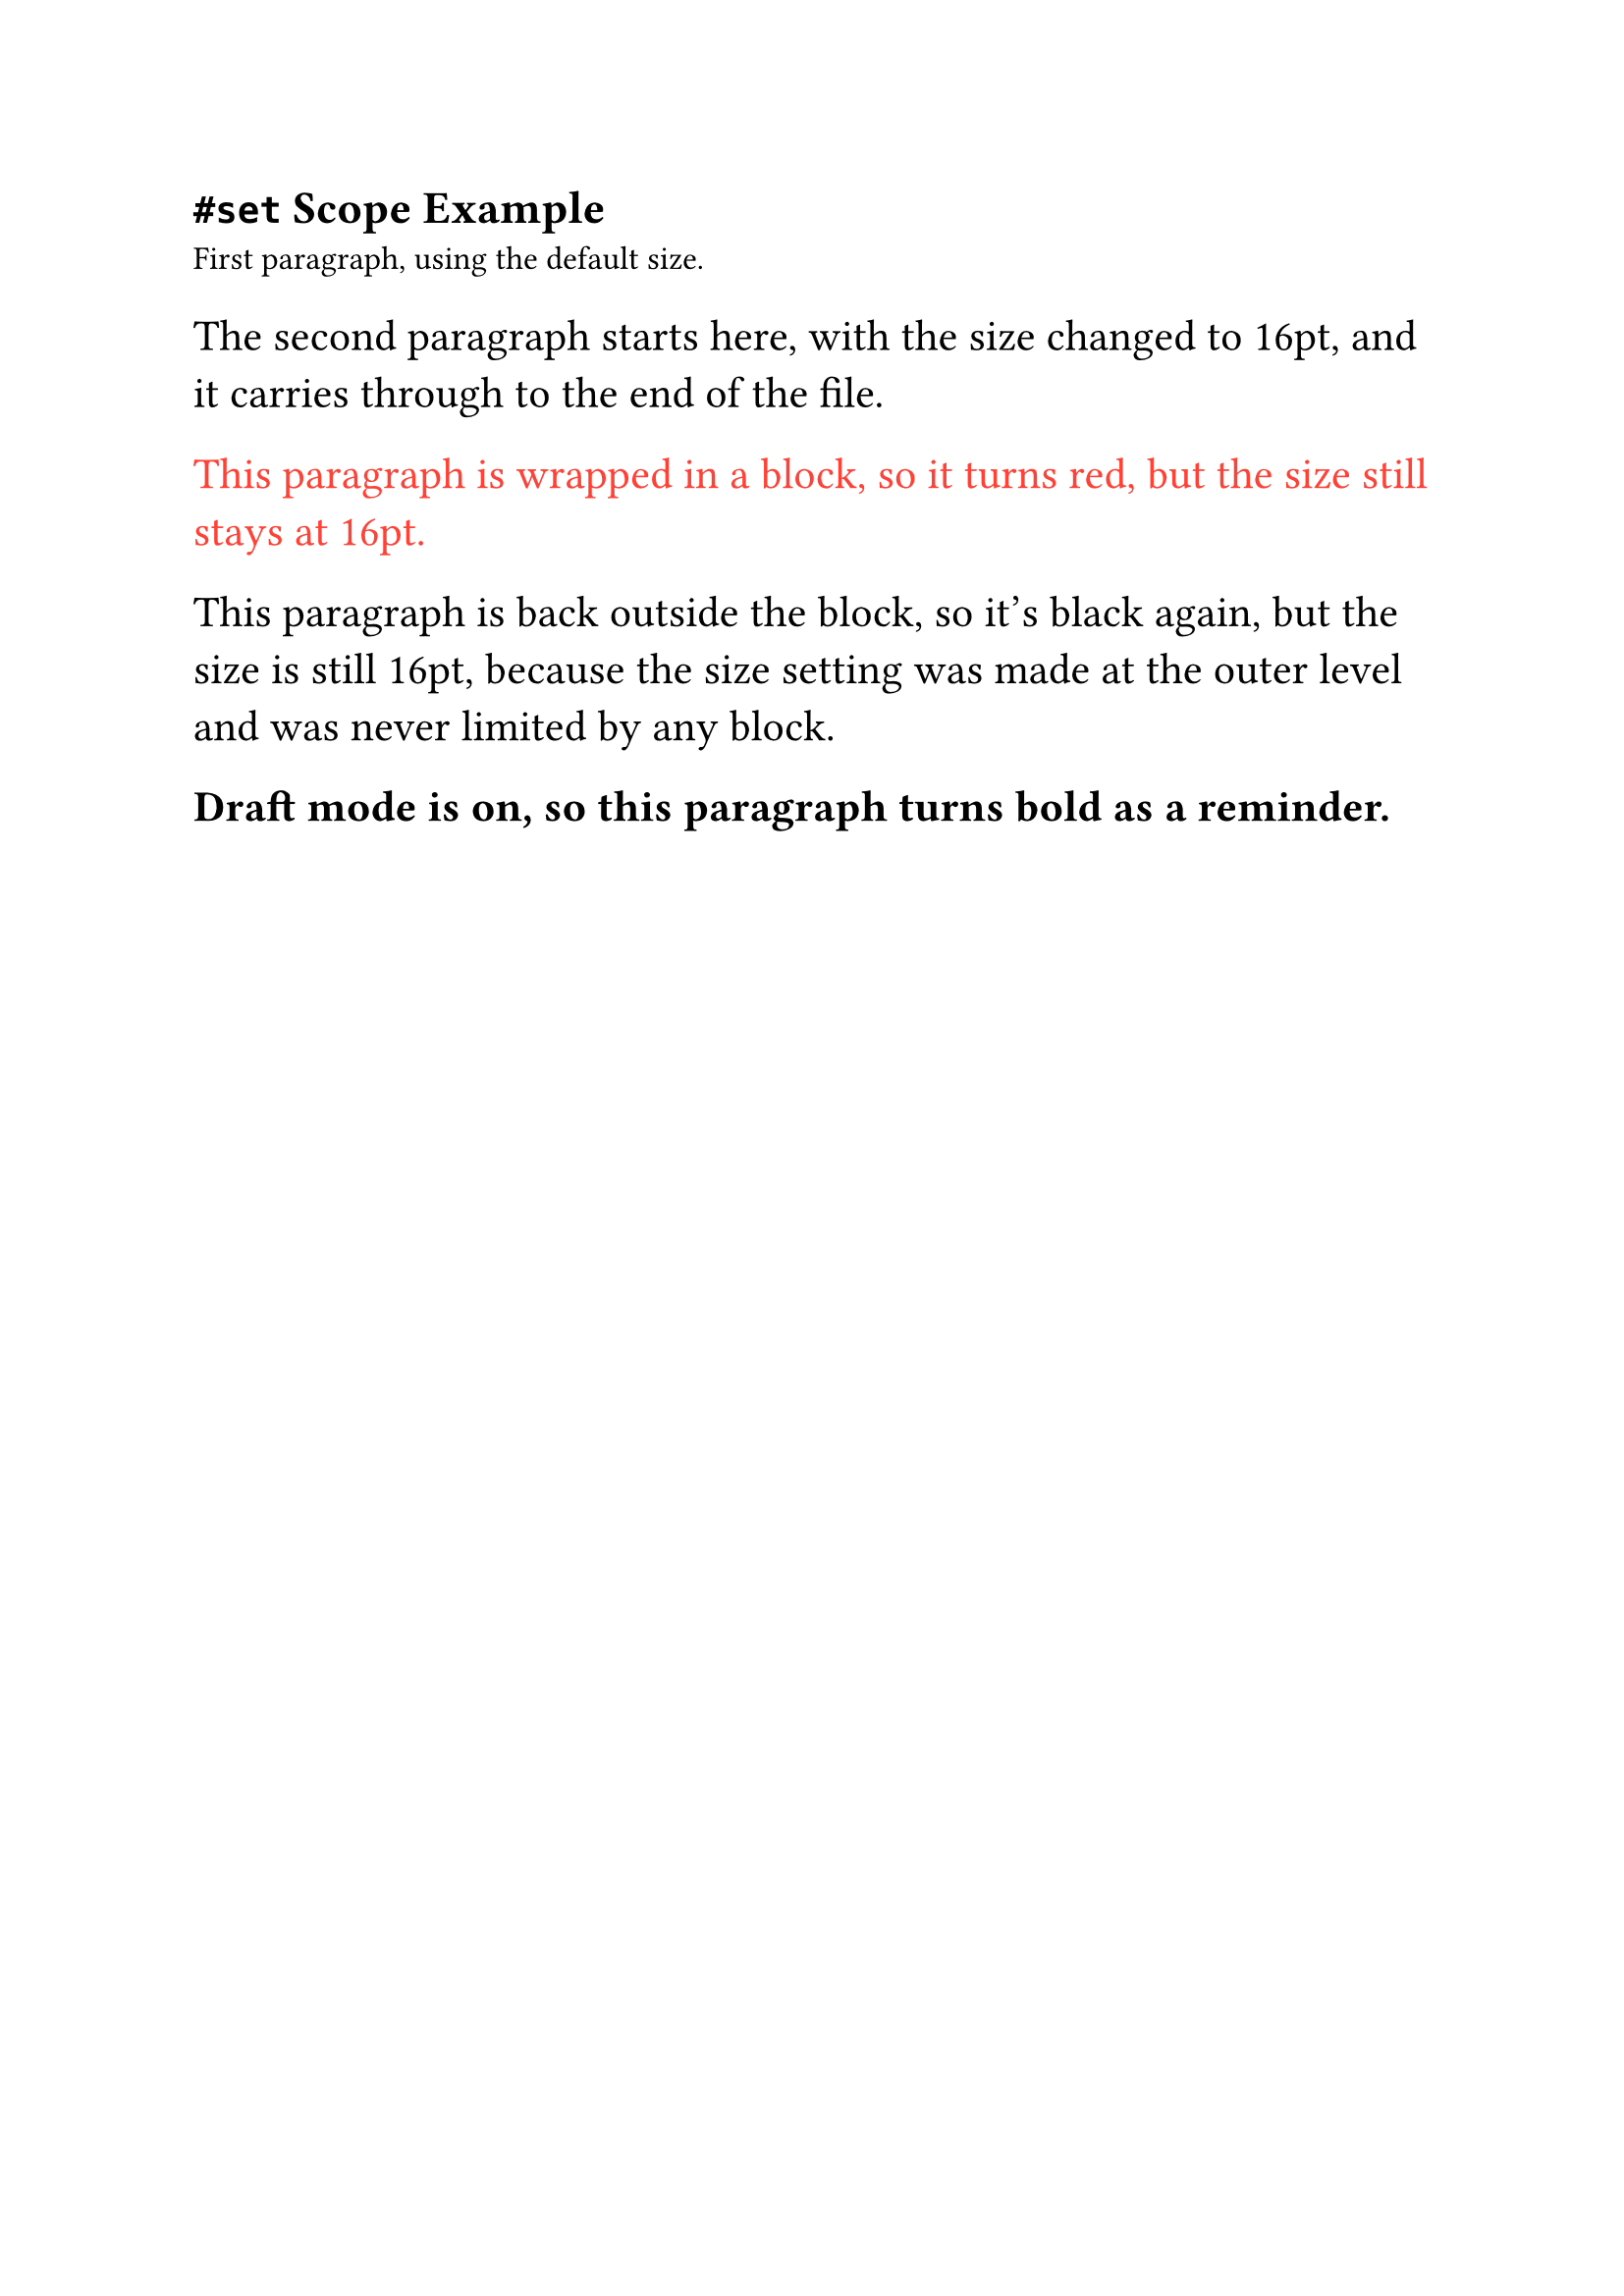
You can see from this output: the red only shows up inside the block, but the size stays 16pt even outside it — because the size was set at the outer level and was never limited by any block, which is a completely different scope than the color set inside the block. The conditional-apply section deliberately uses weight: "bold"2 instead of italics.
Stacking Multiple #set Rules
In practice, you rarely write just one #set. This section looks at how Typst decides the final result when several #set rules stack together.
Same Function: Later Overrides Earlier
Setting the same function with #set more than once doesn’t mean the later call wipes out everything the earlier one set — it’s compared property by property: for a property both calls touch, the later value wins; for a property only the earlier call touched, that value is kept:
1 | #set text(fill: blue) |
Since the two #set calls set different properties, the end result is exactly the same as writing one combined #set with both properties together:
1 | #set text( |
Whether you write it split up or combined, as long as there’s no overlapping property, the effect is identical — it’s purely a matter of style, and neither way is more “correct.”
It’s only when two #set calls set the same property that the later one wins:
1 | #set text(fill: blue) |
Different Functions: No Effect on Each Other
Different element functions each keep their own independent list of styles. Setting one function with #set never affects another function’s settings, even when both appear in the same document:
1 | #set list(marker: [→]) |
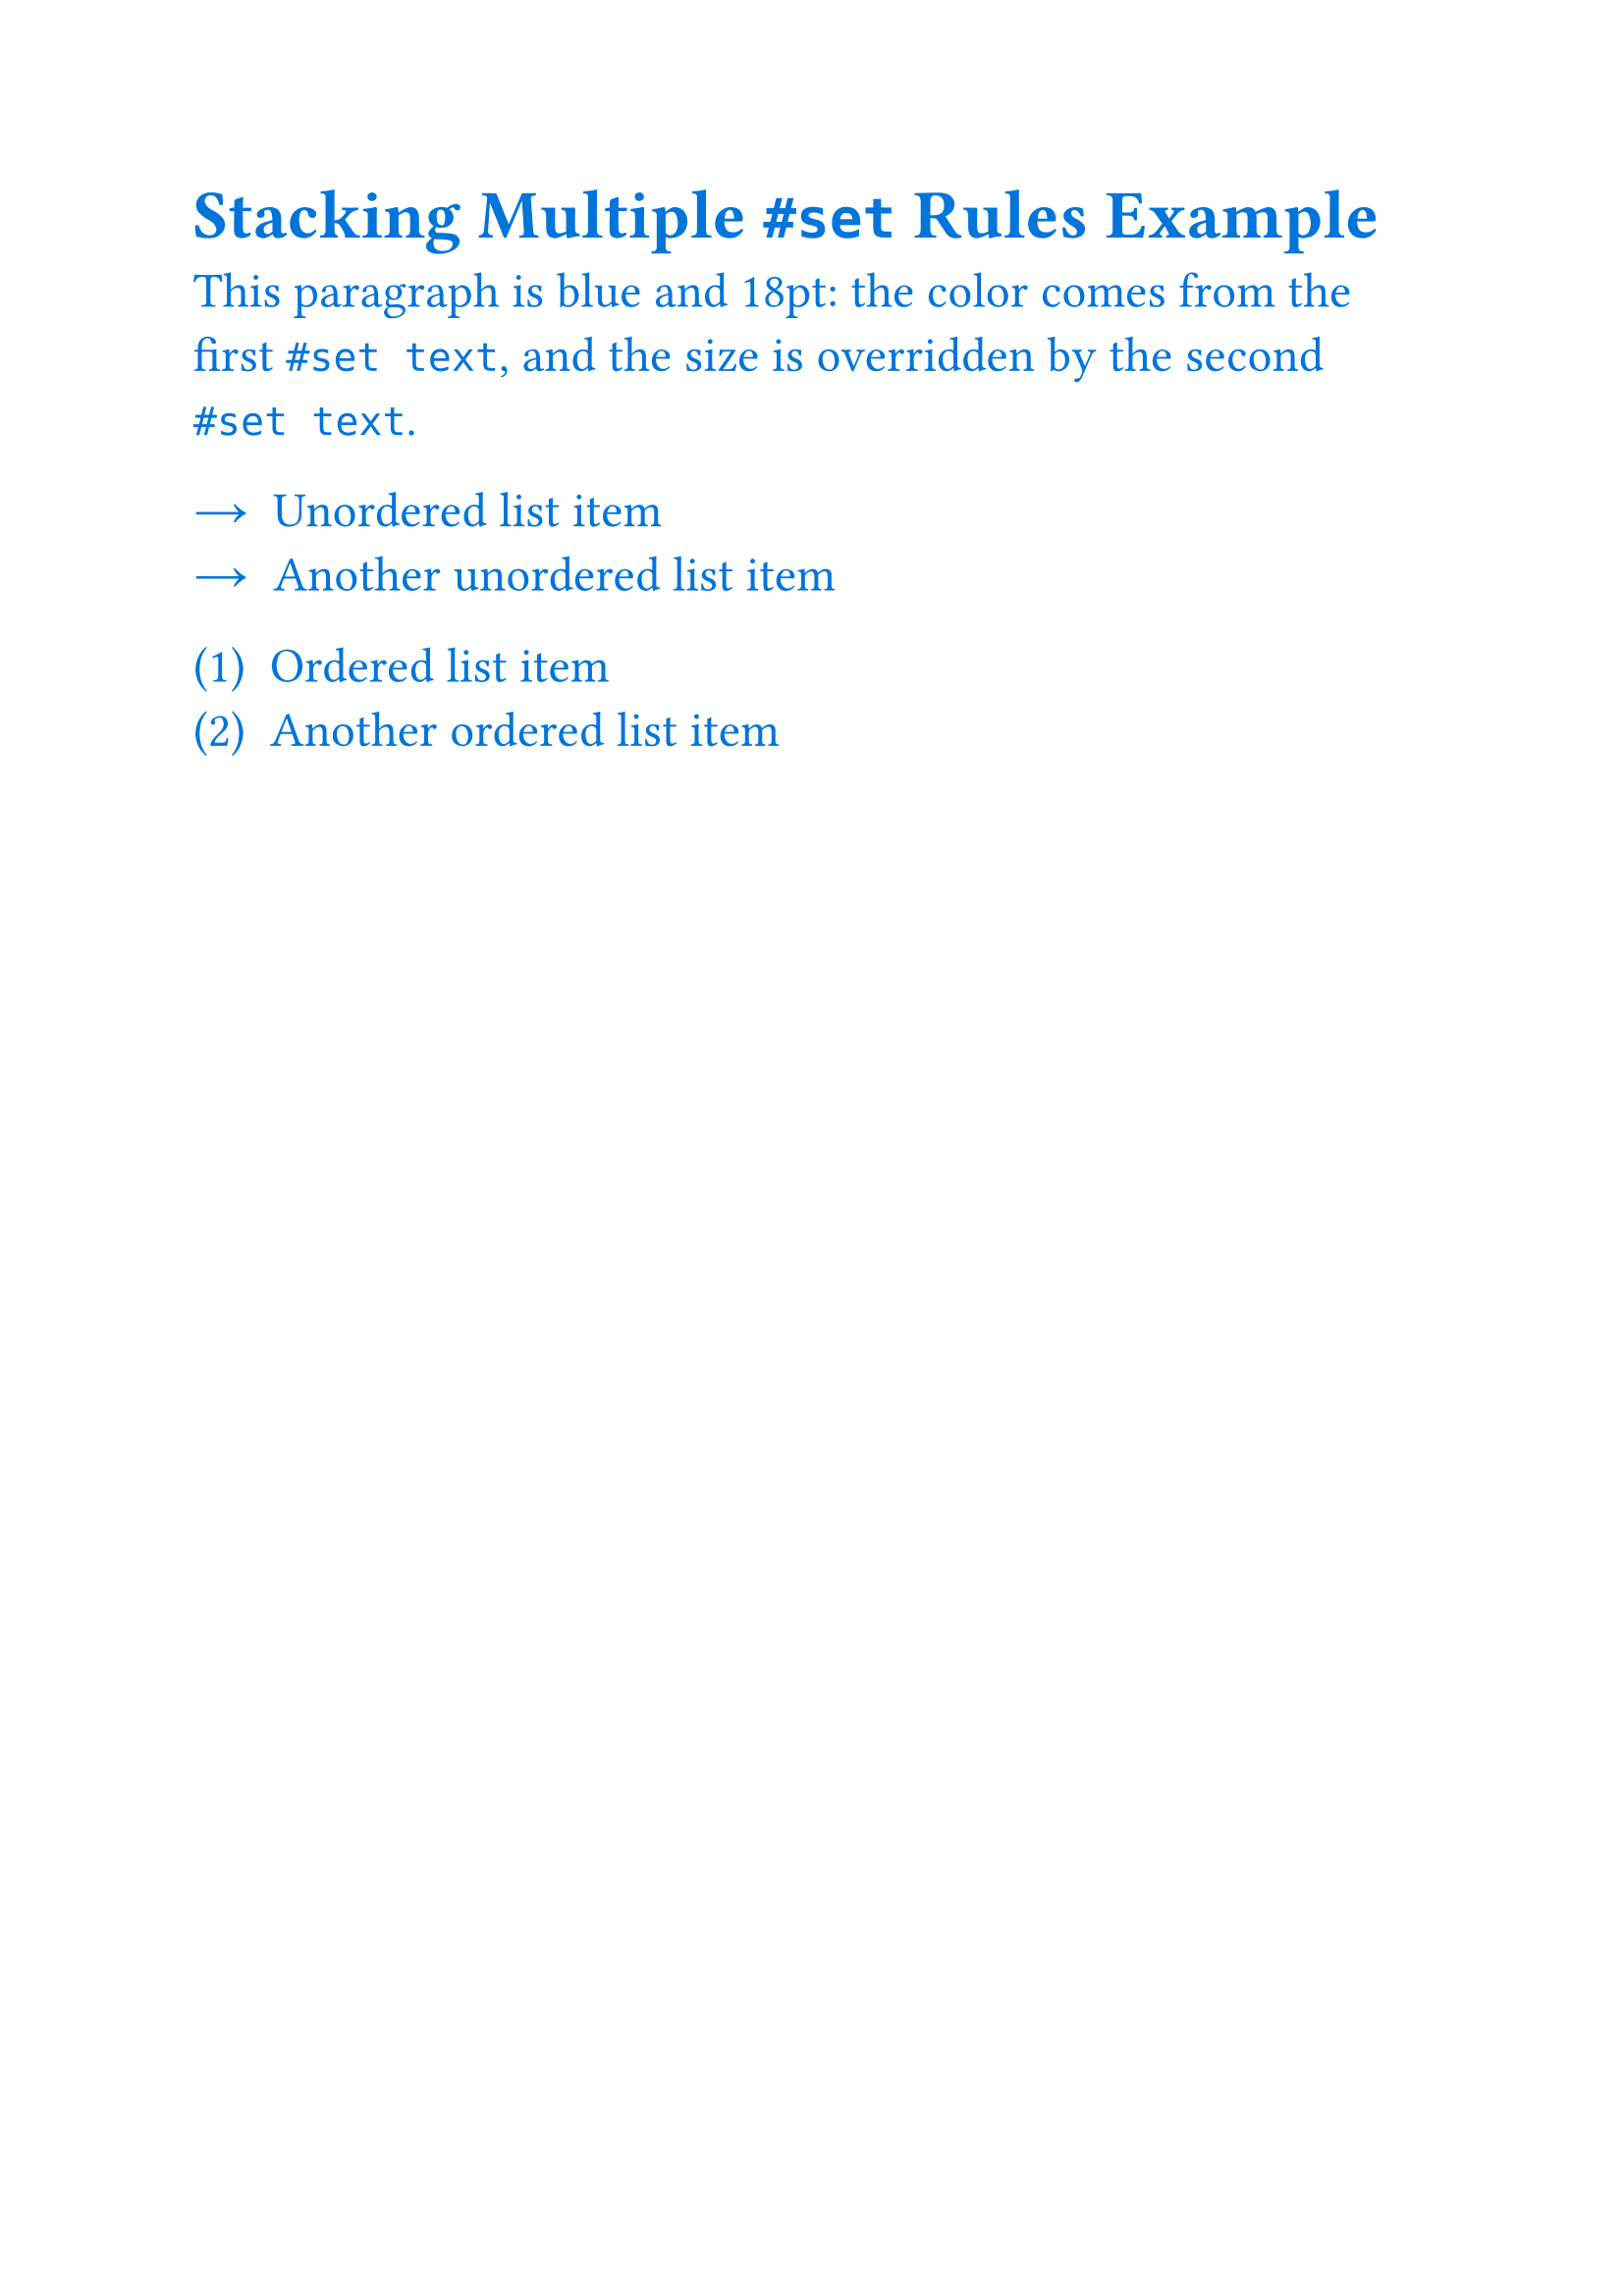
#set list only affects unordered lists starting with -, and #set enum only affects ordered lists starting with + — their markers and numbering don’t interfere with each other. That’s also why earlier posts could #set text, #set page, and #set heading all at once without worrying about them clashing.
A Worked Example
Combining same-function stacking and different-function independence into one document:
1 | #set text( |
After compiling with typst compile, the result looks like this:
Packaging into a Reusable Function
This post hasn’t formally covered how to write your own function yet — this is the first time the series touches on it, so don’t worry: only the simplest possible form gets used here, and the full function syntax is saved for a later post dedicated to functions. This section is purely about wrapping up a commonly-used group of #set rules for reuse.
If the same group of #set rules keeps getting applied across different documents (say, a company’s internal reports always need a certain font and a certain margin), retyping it every time gets old fast. You can use #let to package that group of settings into a function:
1 | #let report-style(body) = { |
Breaking that down: #let report-style(body) = {...} defines a function called report-style that takes one parameter, body (the content that this set of styles should apply to). Inside the braces, a few #set rules come first, and the last line is just body, passing the original content straight back out — without that last line, whatever gets passed in as body would simply vanish and never show up in the final document.
Once it’s defined, apply it to the rest of the document with #show: report-style:
1 | #show: report-style |
#show: function-name passes everything that follows as body into report-style, applying every #set rule inside it at once. Next time you need another document with the same format, there’s no need to retype #set text, #set page, and #set heading — just copy the report-style function definition and add #show: report-style.
A Worked Example
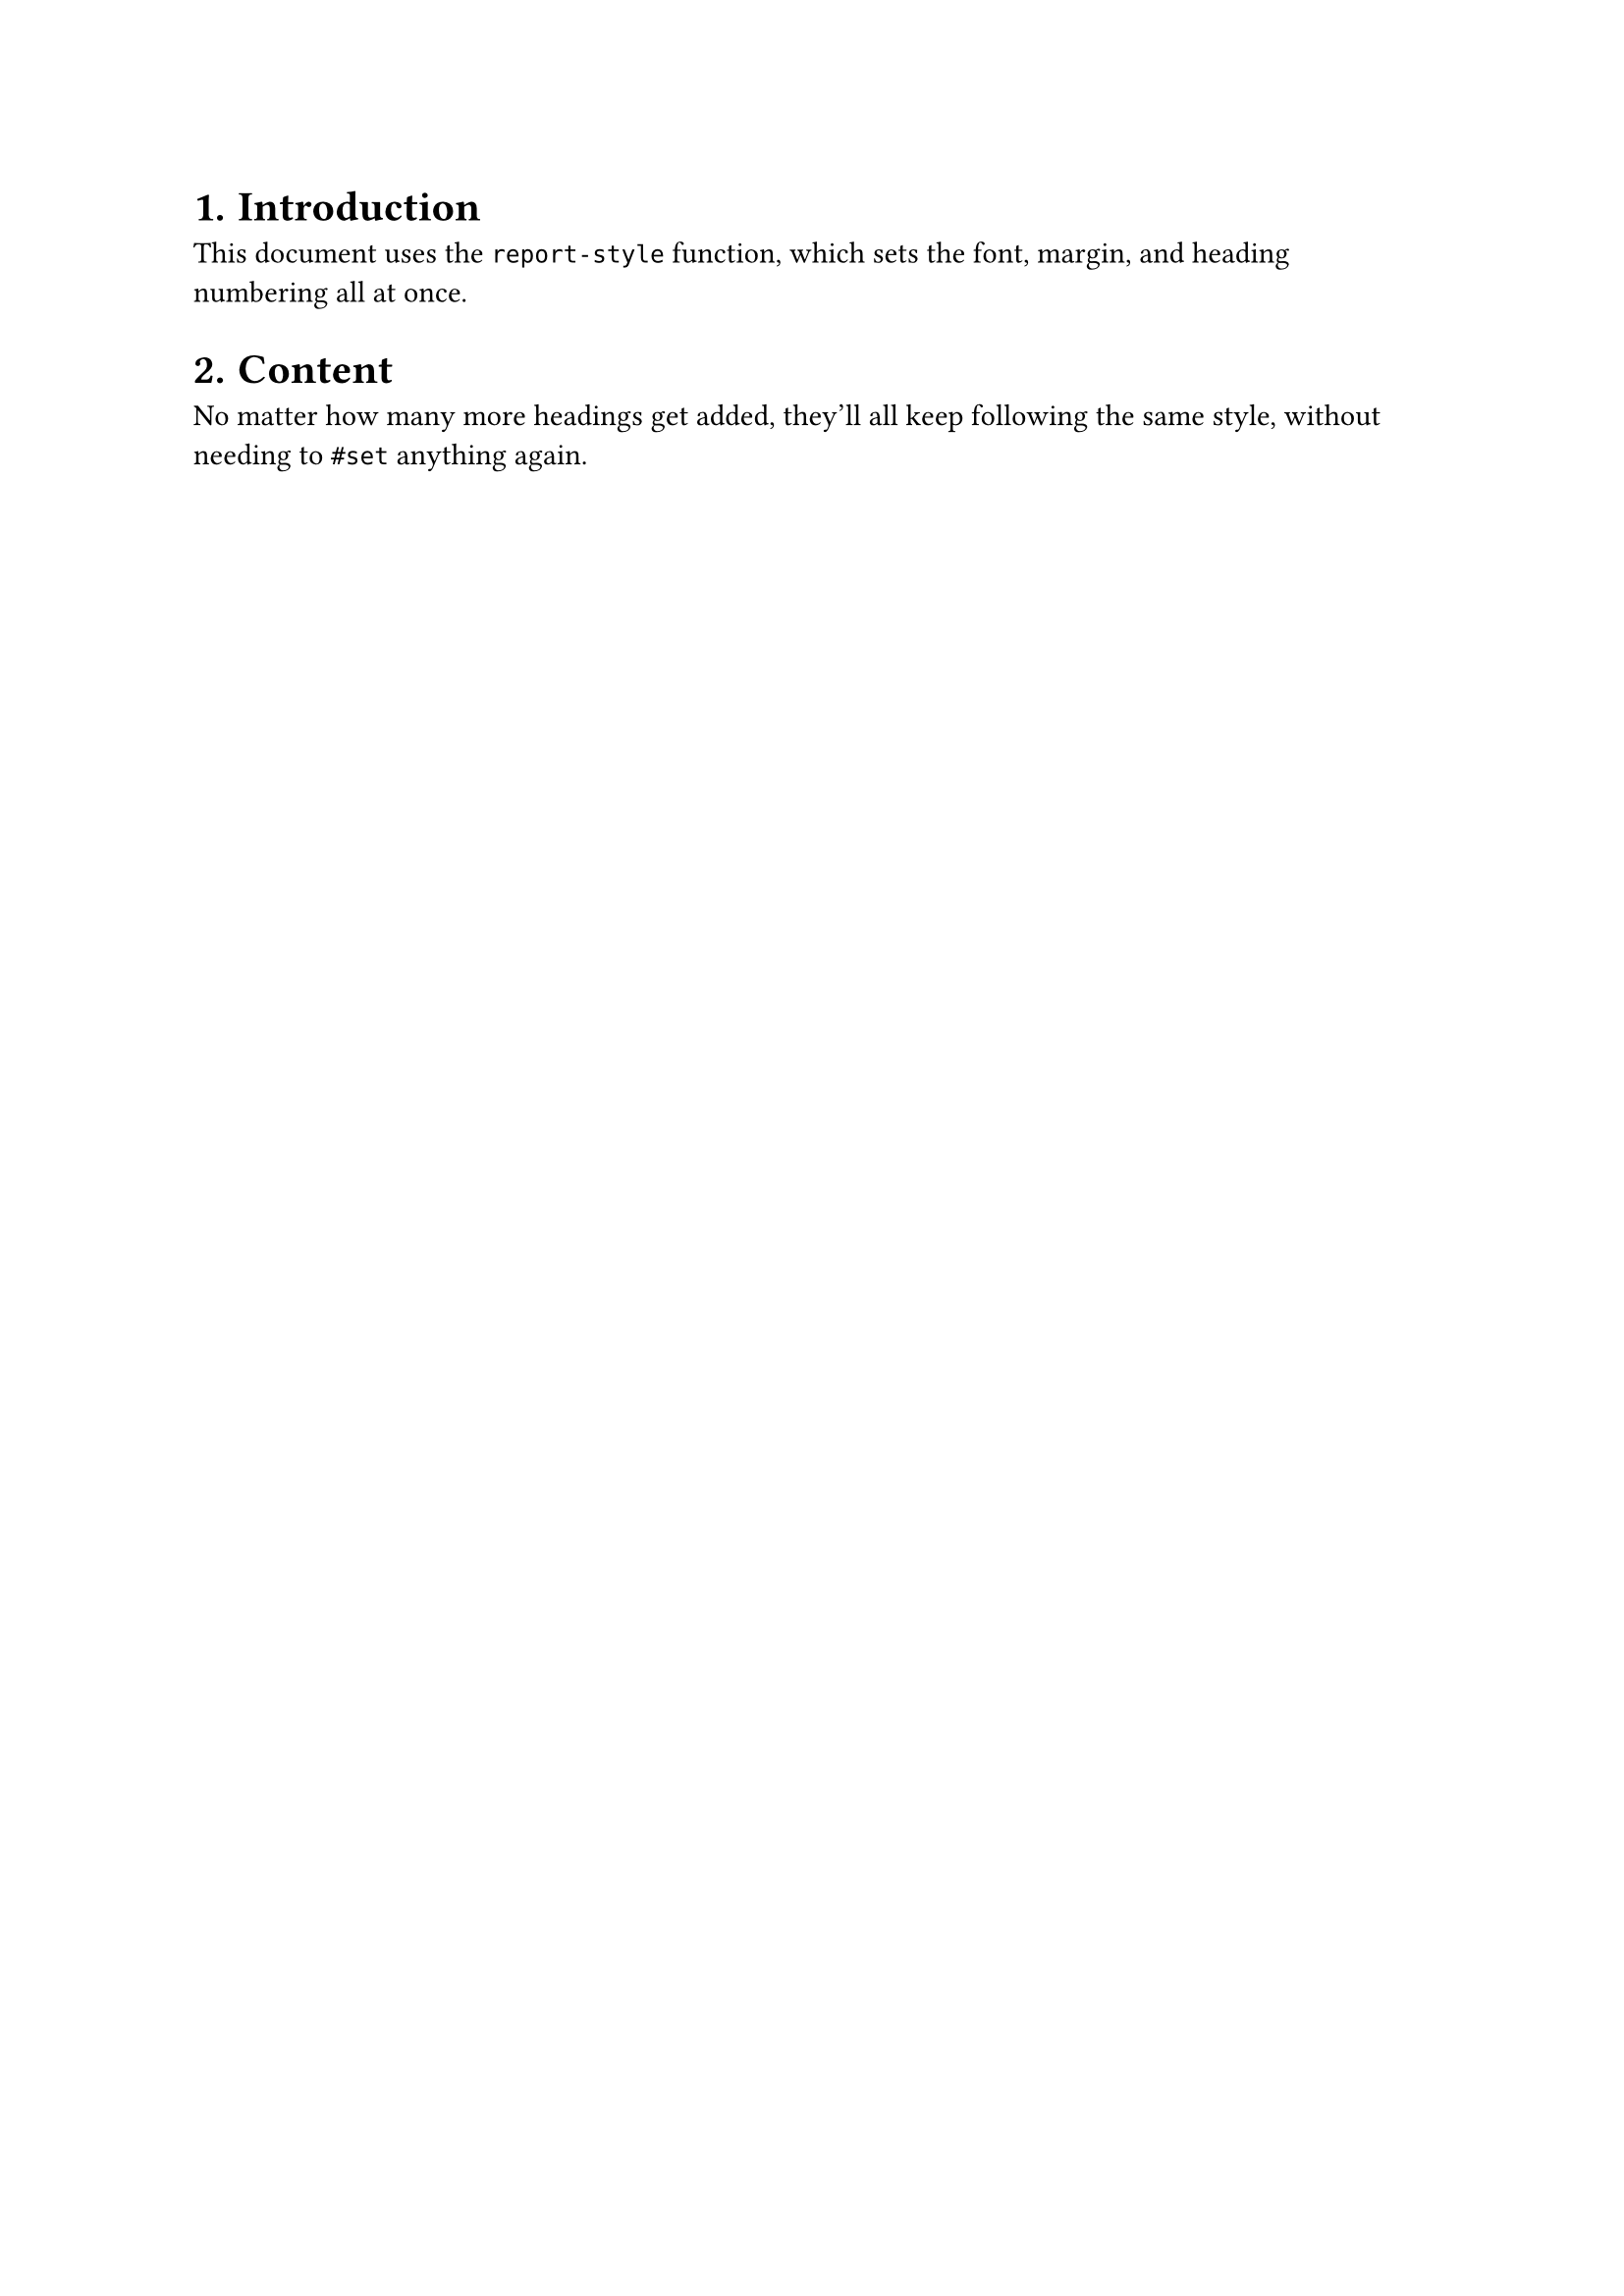
Applying the report-style function to a simple document:
1 | #let report-style(body) = { |
After compiling with typst compile, the result looks like this:
Summary
This post gave the #set syntax used across earlier posts a proper, formal treatment: the basics covered how the syntax is written and which parameters can be set; scope covered three situations — the whole file, block-limited, and conditional; stacking multiple #set rules clarified how the same function gets overridden property-by-property while different functions stay independent; and finally, packaging a common group of #set rules into a function with #let, applied with #show: function-name, so you don’t have to retype the same settings for every new document.
The next post moves on to the #show rule — just as central to Typst’s style system as #set, but doing a different job: #set can only adjust existing parameters, while #show can rewrite how an element is presented entirely. The #show: function-name used to apply the packaged function in this post is actually one form of a #show rule, which the next post will properly introduce.
See you next time~
1. An element function is something liketext,heading,list, orpage— a function that, when called, produces an actual structural piece of the document (a run of text, a heading, a list, a page), unlike a plain function that just returns a number or a string. This distinction matters because only element functions have the style list that#setand#showrules can hook into — ordinary functions don’t have this mechanism. ↩
2. The original plan was to demonstrate this withstyle: "italic", but testing showed CJK text doesn’t turn italic at all — fonts like PingFang TC typically don’t ship with a built-in italic face, and Typst doesn’t synthesize italics for CJK text automatically, sostyle: "italic"only affects the English half. Switching toweight: "bold"works for both CJK and English, which makes for a demo that’s less likely to mislead readers. ↩